概述
frida-server在运行时需要root环境,但如果没有越狱的设备,依然可以使用frida,我们只需要重打包ipa文件,将frida运行库注入ipa文件中,app在启动时会自动加载frida运行库,即可实现在非越狱的设备上使用Frida.
由于苹果的混淆策略和代码签名,重打包app的难度很高,一些自动重打包的工具如Objection、IPAPatch等简化了重打包过程,但其本质大概相同,以下分步介绍手动重打包frida运行库的过程。
1. 配置optool和ios-deploy
optool可以将一个外部的lib插入到Mach-O文件头,使binary文件在启动时会自动加载该lib。如已经配置过,直接跳过。1
2
3
4
5$ git clone https://github.com/alexzielenski/optool.git
$ cd optool/
$ git submodule update --init --recursive
$ xcodebuild
$ ln -s <your-path-to-optool>/build/Release/optool /usr/local/bin/optool
ios-deploy可以在不用Xcode的前提下调试和部署APP:1
2
3
4
5
6$ git clone https://github.com/phonegap/ios-deploy.git
$ cd ios-deploy/
$ xcodebuild
$ cd build/Release
$ ./ios-deploy
$ ln -s <your-path-to-ios-deploy>/build/Release/ios-deploy /usr/local/bin/ios-deploy
更新bashrc文件1
2zsh: # . ~/.zshrc
bash: # . ~/.bashrc
2.准备FridaGadget.dylib
FridaGadget.dylib会不断更新,历史版本在https://github.com/frida/frida/releases中下载1
curl -O https://build.frida.re/frida/ios/lib/FridaGadget.dylib
3.重打包
1.解压ipa文件(ipa必须为砸壳后的文件),复制FridaGadget.dylib到app目录,使用optool添加到binary文件
1 | unzip wechat.ipa |
2.替换provisioning profile文件
由于在binary中注入了frida,破坏了原有的代码签名,无法在iOS设备上运行,因此需要重新签名。首先,添加自己的provisioning profile文件。
自己的provisioning profile可以通过新建一个xcode工程,(provisioning profile有效期为7天,所以每次尽量新建一个空的工程,并在设备上运行)从.app文件中提取,路径为~/Library/Developer/Xcode/DerivedData/xxxxxxx/Build/Products/Debug-iphoneos/xxxxxxx.app/。或者通过xcode界面定位到.app文件:
打开Xcode,创建一个SimpleViewApp
运行环境选中你的设备,运行一次
选中左边导航栏Products中的app
点击最右面板中,Full Path右下角的箭头,定位到app所在的目录
右击app选择“显示包内容”,即可看到embedded.mobileprovision
对于获取到的provisioning profile,可以用security命令验证是否正确。除了检查允许的证书、设备外,entitlements文件在代码签名中也会用到,所以需要把其提取为一个单独的plist文件:1
2
3
4
5
6
7
8
9
10
11
12
13
14
15
16
17
18
19$ security cms -D -i AwesomeRepackaging.mobileprovision > profile.plist
$ /usr/libexec/PlistBuddy -x -c 'Print :Entitlements' profile.plist > entitlements.plist
$ cat entitlements.plist
<?xml version="1.0" encoding="UTF-8"?>
<!DOCTYPE plist PUBLIC "-//Apple//DTD PLIST 1.0//EN" "http://www.apple.com/DTDs/PropertyList-1.0.dtd">
<plist version="1.0">
<dict>
<key>application-identifier</key>
<string>LRUD9L355Y.sg.vantagepoint.repackage</string>
<key>com.apple.developer.team-identifier</key>
<string>LRUD9L355Y</string>
<key>get-task-allow</key>
<true/>
<key>keychain-access-groups</key>
<array>
<string>LRUD9L355Y.*</string>
</array>
</dict>
</plist>
需要注意的是:
- application identifier字段是由Team ID (LRUD9L355Y) 和Bundle ID (sg.vantagepoint.repackage)构成,Bundle ID必须和Info.plist的bundle id匹配
- “get-task-allow”必须为true,否则其他进程无法attach
确定provisioning profile有效后,我们将其复制到工程目录下1
$ cp my.mobileprovision Payload/WeChat.app/embedded.mobileprovision
更新Info.plist中的bundle ID:1
$ /usr/libexec/PlistBuddy -c "Set :CFBundleIdentifier m4bln.myapp" Payload/WeChat.app/Info.plist
3.移除原有签名
1 | $ rm -rf Payload/WeChat.app/_CodeSignature |
4.重新签名
对FridaGadget.dylib签名,其中的”8004380F331DCA22CC1B47FB1A805890AE41C938”需要替换为自己的哈希,可以通过“security find-identity -p codesigning -v”命令获取1
2
3$ /usr/bin/codesign --force --sign 8004380F331DCA22CC1B47FB1A805890AE41C938 Payload/WeChat.app/FridaGadget.dylib
Payload/WeChat.app/FridaGadget.dylib: replacing existing signature
使用entitlements.plist对binary文件进行签名:1
2
3$ /usr/bin/codesign --force --sign 8004380F331DCA22CC1B47FB1A805890AE41C938 --entitlements entitlements.plist Payload/WeChat.app/WeChat
Payload/WeChat.app/WeChat: replacing existing signature
安装和运行app
使用ios-deploy安装和运行app1
$ ios-deploy --debug --bundle Payload/WeChat.app/
运行frida-ps -U验证是否可以attach:1
2
3
4$ frida-ps -U
PID Name
--- ------
499 Gadget
测试Frida
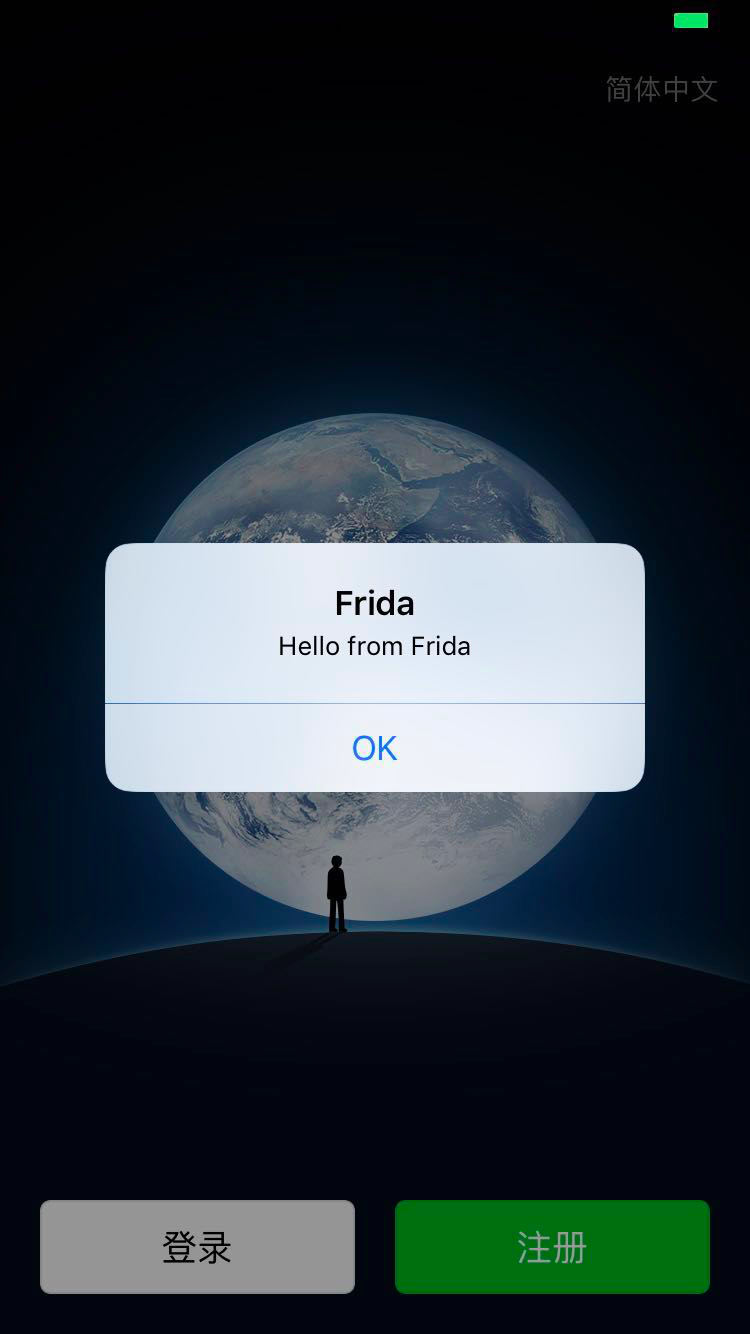
运行一段frida脚本,实现在界面上弹窗:
注: attach时需要根据frida-ps获得的进程pid设置attach参数
1 | import sys |
运行截图如下:
参考文献:
- iOS App的Patching和Resigning https://www.jianshu.com/p/ce2770c42ead
- https://github.com/OWASP/owasp-mstg/blob/master/Document/0x06b-Basic-Security-Testing.md
- https://www.nccgroup.trust/au/about-us/newsroom-and-events/blogs/2016/october/ios-instrumentation-without-jailbreak/
- 如何重新打包并签名iOS应用 https://www.anquanke.com/post/id/152952